Get DNN Docs Running Locally
The project uses the docfx library to pull XML comments from the DNN Platform source code and combine that with articles written in Markdown to form the documentation for DNN.
This page first explains how to use Git in contributing to DNN Docs. The second and last part does the same for Visual Studio.
Using Git
Installing Git
If you do not have Git installed you will need to install Git first. You can find instructions on installing Git from here
Installing dotnet
Our cross-platform build scripts handle obtaining docfx for you, however you will need to have the latest .net SDK installed. Download .NET
Setting Up the DNN Docs Project
The next step is to clone this repo. 'Cloning the repo' will simply create a copy of the repo (files and folders) on your local machine so that you can work with them.
Note the following example command clones the repo to the location of c:\dev. Update the c:\dev location to your location of choice on your machine.
c:\dev> git clone https://github.com/DNNCommunity/DNNDocs.git
The previous command will have created a folder called DNNDocs in the c:\dev folder. Navigate to that directory by using the cd (Change Directory) command. cd into the DNNDocs folder.
c:\dev> cd DNNDocs
Running the DNN Docs Project Locally
You should now be able to run the development version of the docs locally with the following command:
./build.cmd
Note
You should run your shell in administrator mode for this to work!
The first time, the compilation process could take quite a while. You may see a couple of warning messages. Eventually, you should see a message similar to:
Serving "C:\dev\DNNDocs\_site" on https://localhost:8080
Open that page up in your browser to see the documentation.
Note
Depending on the configuration of your development environment, you may need to use the non-SSL version of the local website URL instead.
Optional git integrations
We use a handful of plugins that will not work unless you have a valid authentication to github REST APIs. This step is optional but if not performed, you won't get some of the features like displaying contributors on pages. If you need to work in that area you will need to Setup a git personal access token. Once that is created, copy your token (you will only view it once) and create a .env file at the root of the project with a line like this (everything after the = sign is the token you copied).
GithubToken=github_pat_xxxxxxxxxx
Using Microsoft Visual Studio
The following tutorial explains how to set DNN Docs Project up locally using Visual Studio 2026.
As 'Repository location' use https://github.com/DNNCommunity/DNNDocs.git

- Clone a Git repository in Visual Studio https://learn.microsoft.com/en-us/visualstudio/version-control/git-clone-repository?view=visualstudio
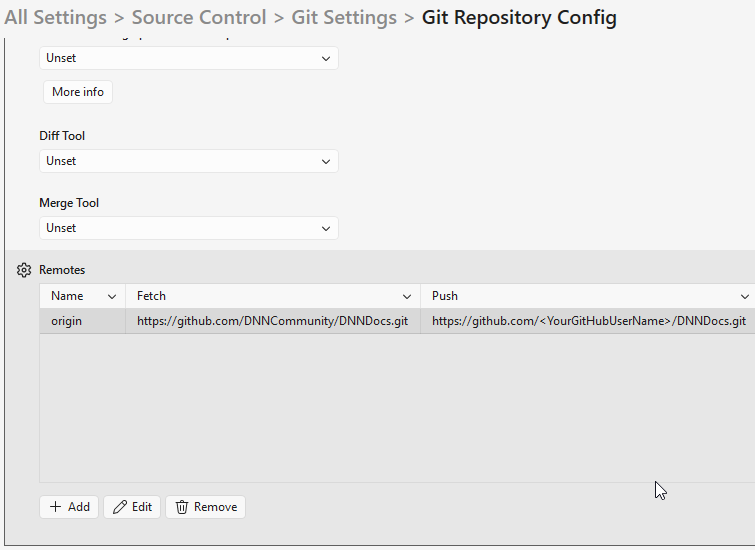
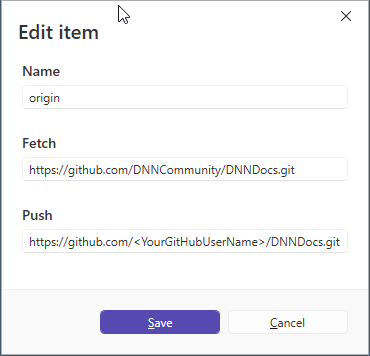
Adjust the Push configuration for the DNN Docs Git repository to point to your fork/branch of the DNN Docs repoisitory on Github. Note the 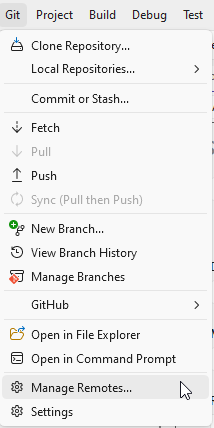
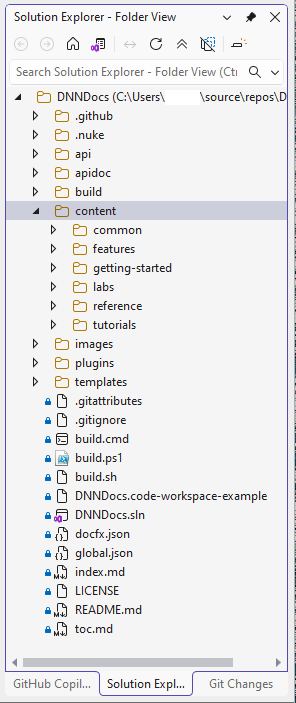
After having set up DNN Docs in the 'Solution Explorer' switch to 'Folder View'.
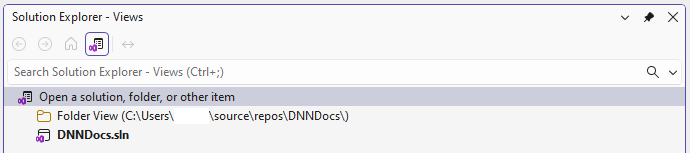
Under the 'content' branch / folder you will find (the content of) the DNN Docs.