Set Up the DNN Folder and the User Account
Steps
Download DNN and extract the files.
Note
If you get a Windows Security Warning while attempting to unzip the file, you might need to unblock the DNN zip file then try again.
Warning
For your protection, remember to download or unzip files from reliable sources only.
The folder where you extract the files becomes the DNN installation folder.
Developers and Designers: For module or theme development, you don't need the source files.
Determine the user account used to run your website.
The account name differs, depending on your IIS and Windows version:
If your OS is and your IIS version is a then the account name is Windows Vista Windows Server 2008 IIS 7 localmachine\Network Service Windows 7 Windows Server 2008 R2 IIS 7.5 the NETWORK SERVICE account - or - the IIS AppPool\AppPoolName, which is the name of the automatically generated app. Windows 8 Windows Server 2012 IIS 8 Windows 10 IIS 10 Give Full or Modify permissions for the DNN installation folder to the user account that will run your website.
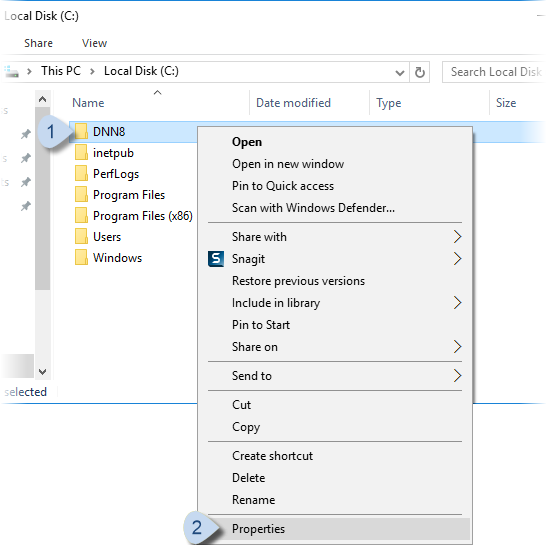
In Windows Explorer, right-click on the DNN installation folder, and choose Properties.
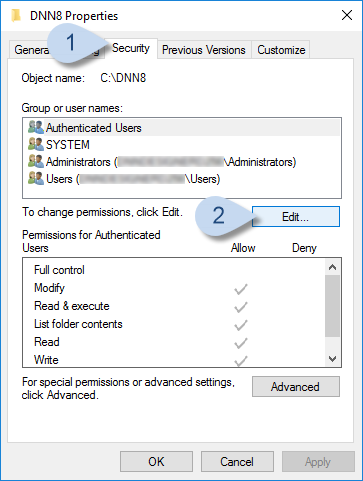
Go to the Security tab and click/tap Edit....
Click/Tap Add....
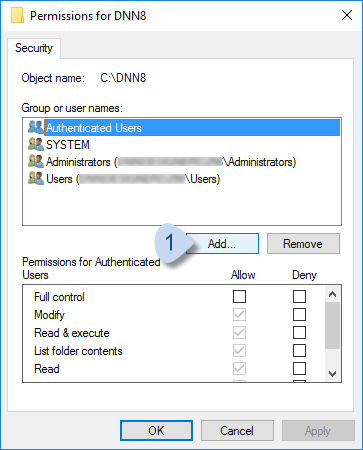
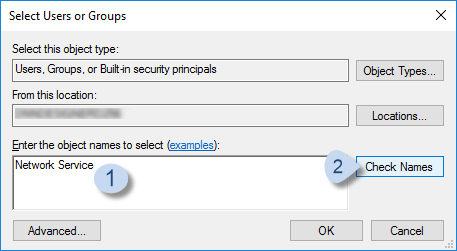
In Select Users or Groups, enter the user name, then click/tap Check Names. After the name is resolved, click/tap OK.
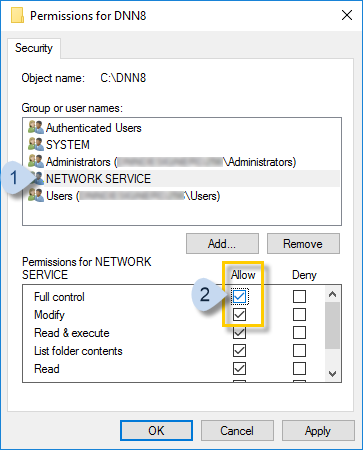
Highlight the newly added user name and check Full Control and Modify under Allow.