Install an Extension
Prerequisites
A host / super user account. Hosts have full permissions to all sites in the DNN instance. A host account is required to upload modules and themes, because they might contain executable code. (An administrator account is sufficient to apply modules and themes to a website.)
Steps
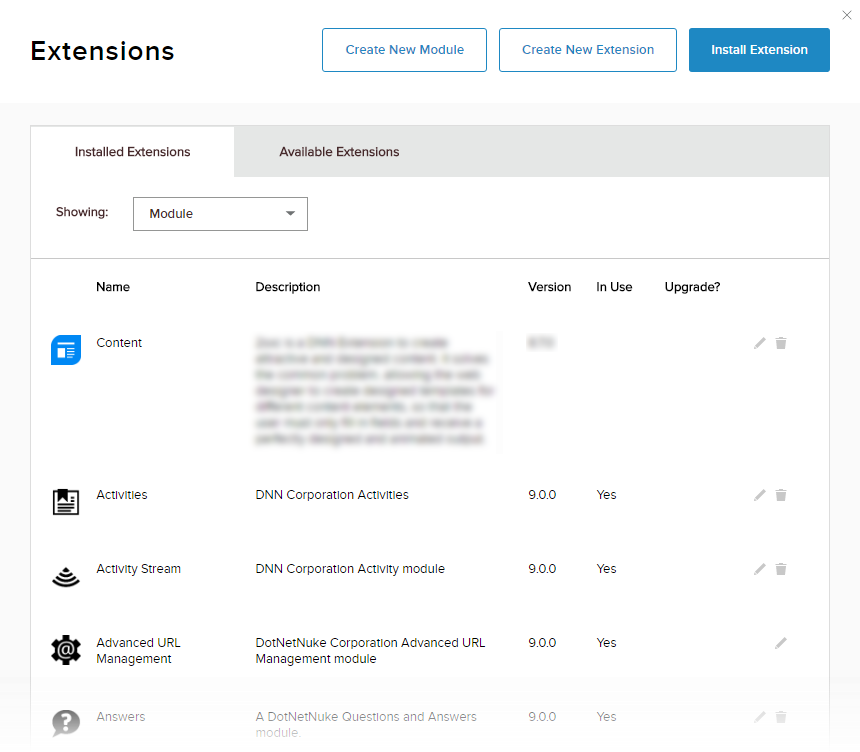
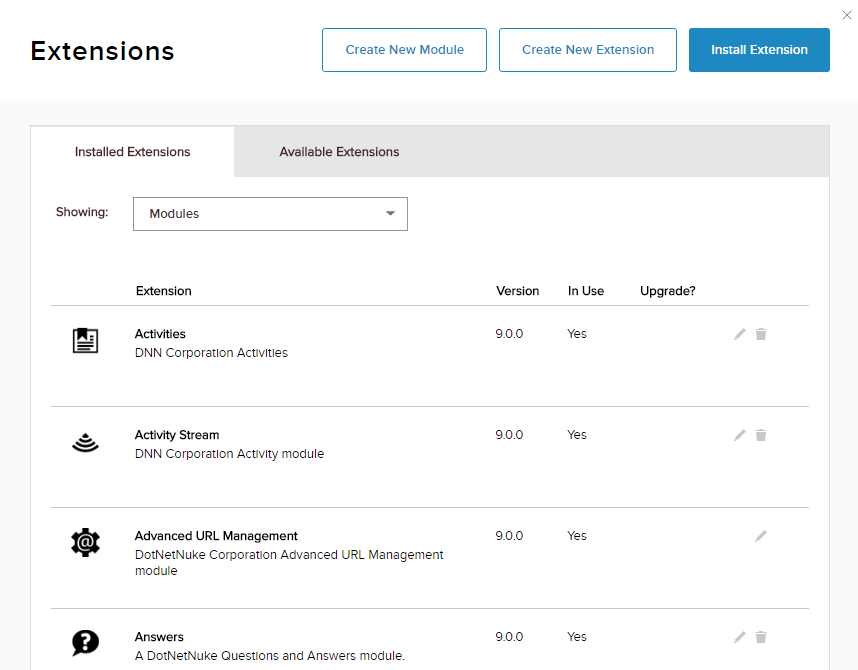
Go to Persona Bar > Settings > Extensions.

Click/Tap Install Extension.
Upload the zip file containing the extension package.

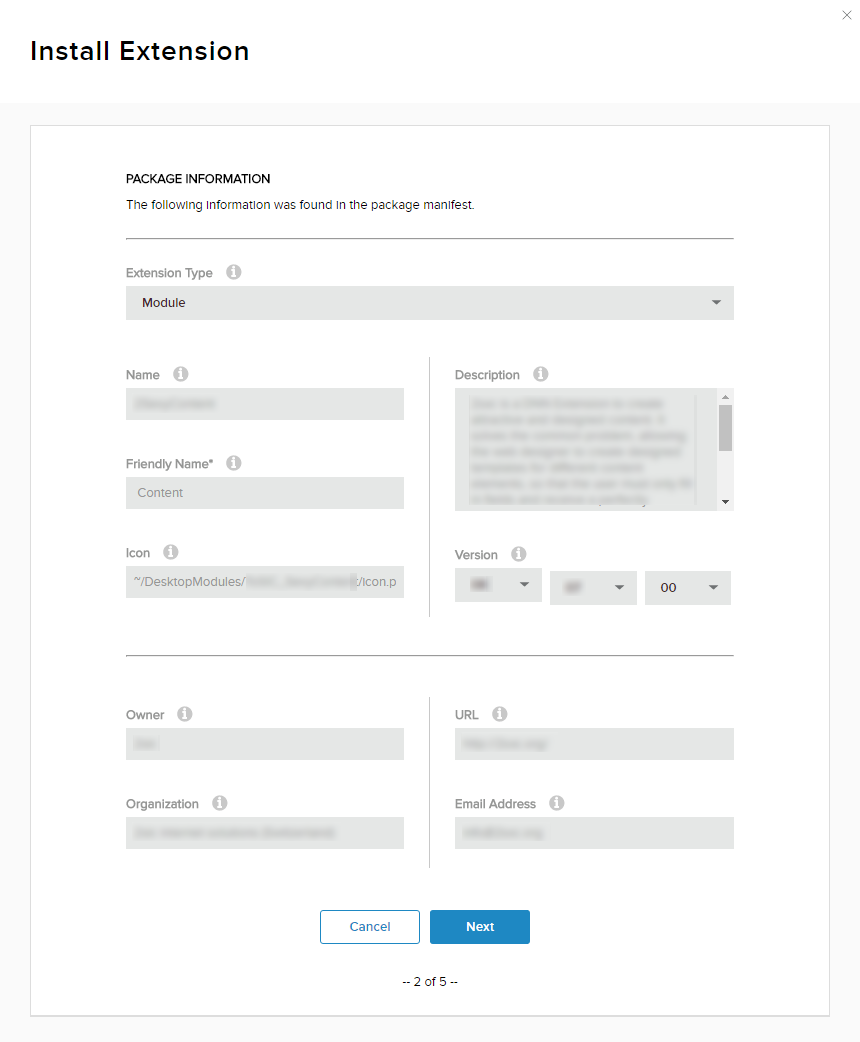
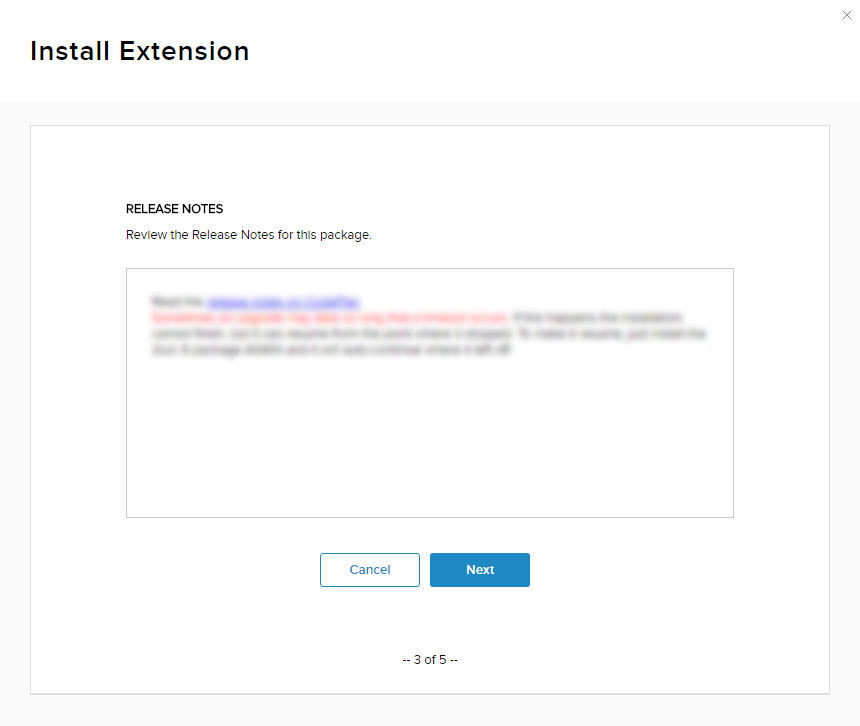
Informational pages will be displayed one after the other:
Package Information includes the extension's version and description, as well as information about the creator.
Release Notes displays what's new in the current release of the extension.
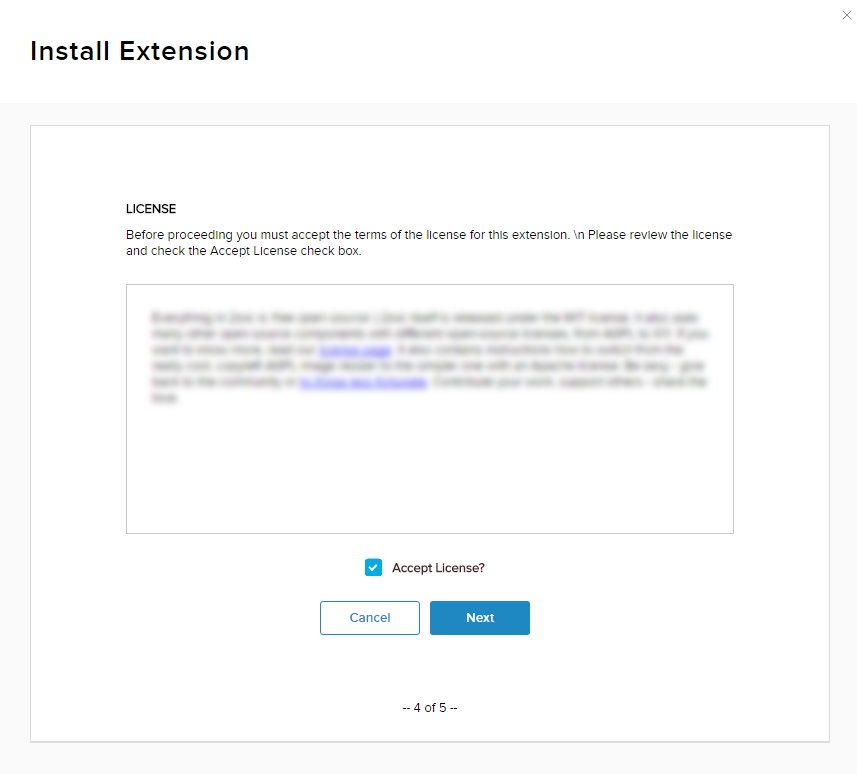
License displays the creator's license terms. Accept the license to continue.
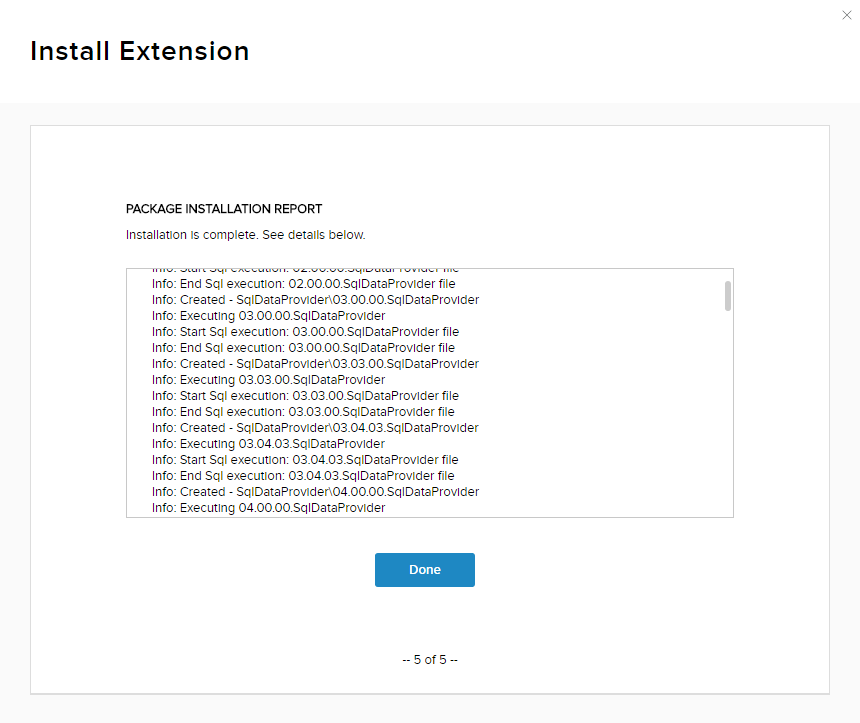
Package Installation Report displays a log of actions performed by the installation.
Verify that the newly installed extension appears in the list under the Installed Extensions tab.