Create a Role
DNN Version: 09.02.00
12/08/2019 • 2 minutes to read
Contributors

12/08/2019
• 2 minutes to read
• Contributors
Prerequisites
- An administrator account for the site. Administrators have full permissions to the specific site.
Steps
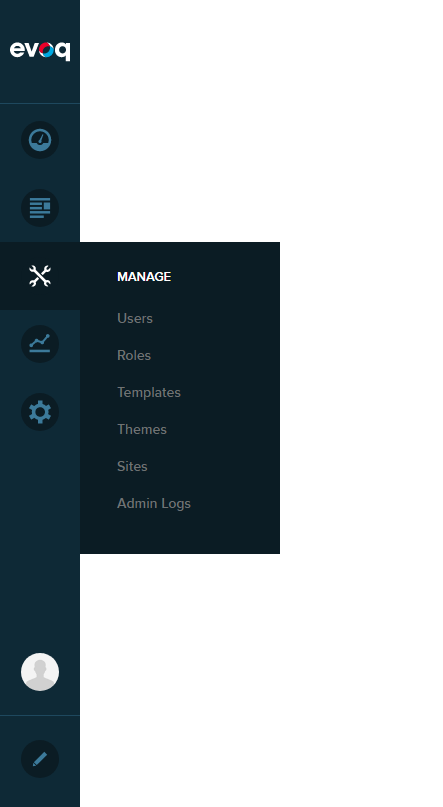
Go to Persona Bar > Manage > Roles.
Click/Tap Create New Role.

Configure the new role's properties.

Field Description Public If enabled, any registered user can subscribe to this role. Role Group Note: A role must belong to exactly one group. The [Global Roles] group contains all roles that do not belong to a custom group. Security Mode - Security Role. The role is used to managed access to modules and pages of the site.
- Social Group. The role is used as a community that users can join and subscribe to. Available only in Evoq Engage.
- Both. The role is used both as a security role and as a social group. Use this mode when access to a certain area (modules and pages) of the website must be restricted to members of a community. Available only in Evoq Engage.
Status - Pending. The role was created but not yet approved for use.
- Disabled. The role is not available.
- Approved. The role is available.
Auto Assignment If enabled, new users are automatically added to this role. Assign to Existing Users If enabled, all existing users are automatically added to this role. Save.